Chipboard is one of the most extensively used sheet materials in the world, providing economical and quick solutions for a variety of DIY and construction purposes. But what is chipboard precisely, and what can it be used for? If you’re looking for sheet materials for your next DIY project, keep reading to see if chipboard is the right choice.
WHAT EXACTLY IS A CHIPBOARD?
Chipboard, also known as Particle Board or Low-Density Fiberboard, is created by combining tiny wood particles with epoxy glue and pressing them together under high heat and pressure to form a stiff board with a smooth surface. Chipboard comes in a number of densities to fit a variety of purposes and applications, including low, medium, and high-density options. Lower-density chipboards are more malleable and softer, but higher-density chipboards are stiffer and may be utilized for heavier-duty applications.
Chipboard has a number of advantages and disadvantages as a sheet material. The major benefits of chipboard are, of course, its cost-effectiveness and flexibility of applications. The most significant drawback is that untreated chipboard is porous and will absorb any water that comes into touch with it. This is true for all grades of chipboard, including those with the highest densities, thus it’s critical to keep untreated chipboard dry and treated to avoid it absorbing water and expanding, which would render the board useless. Chipboard can be treated and covered with water-resistant veneers, melamine coatings, and varnishes to increase its durability.
WHAT IS CHIPBOARD USED FOR?
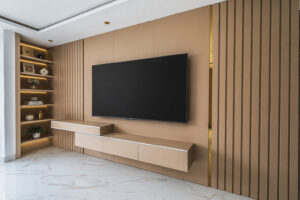
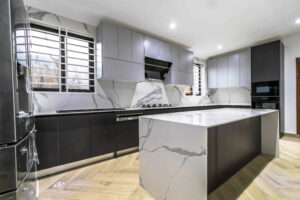
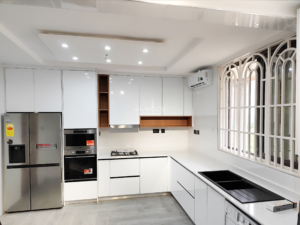
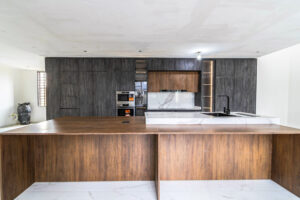
Chipboard is used for a variety of interior building and decoration applications, depending on its density. Chipboard with the greatest density is used for items like:
- Worktops in the kitchen (coated with melamine)
- Kitchen cabinetry’s fundamental structures
- Flooring with underlayment/insulation
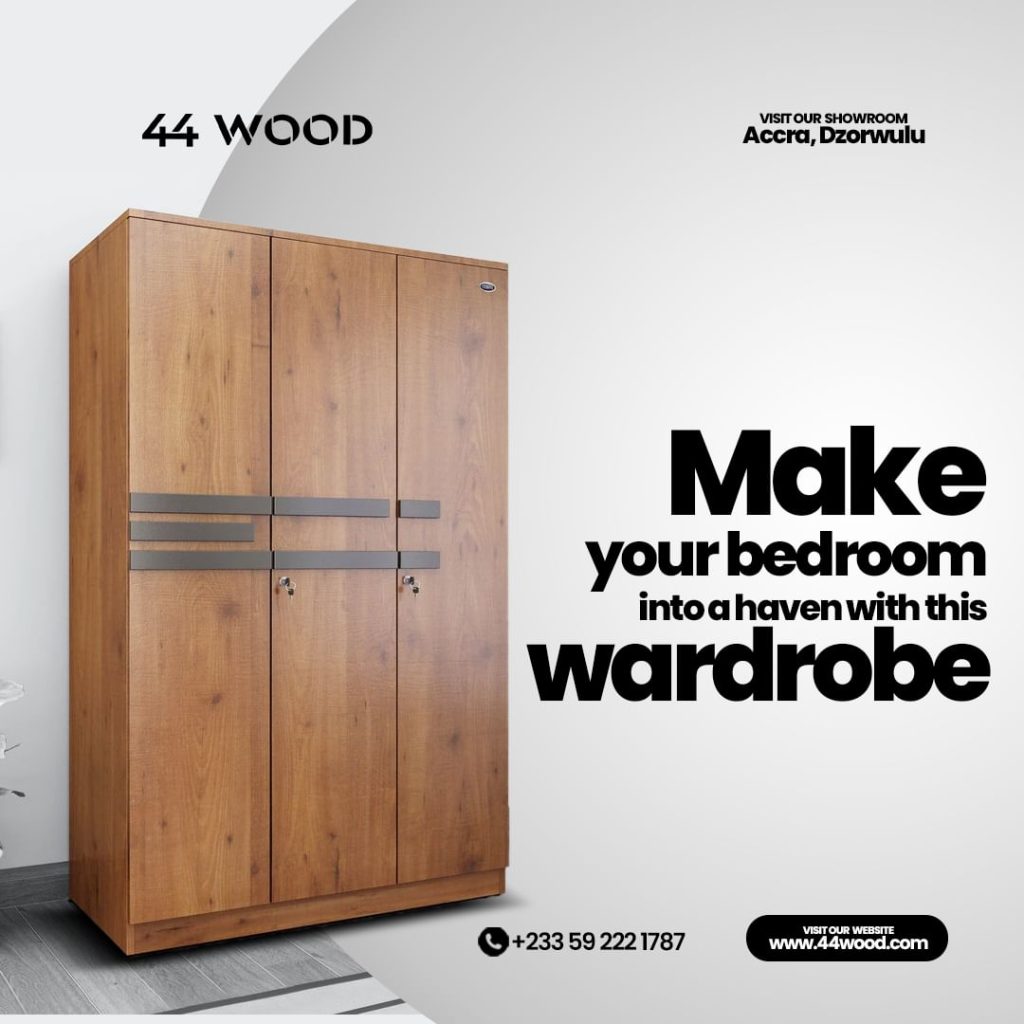
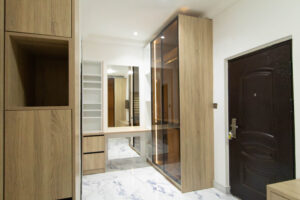
- Furniture that comes flat-packed (usually coated in a veneer)
- Insulating a building
Chipboard with a lower density and a softer feel is frequently used for:
- Furniture interiors (such as drawer bottoms, wardrobe backs, and interior house accessories such as window and door trims and mouldings)
- Absorption and sound deadening (e.g. speakers and music venue walls and flooring)
- Packaging
Is chipboard the sort of material you’re looking for your next project?
Here are some basic pointers for working with this incredibly flexible board, including how to cut and paint it safely.
HOW TO CUT CHIPBOARD
Chipboard, like other wood-like materials, may be cut with any mechanical saw, such as a band saw, table saw, circular saw, or jigsaw. We don’t advocate cutting chipboard with a manual hand saw because of the chipboard’s unique properties, which will result in very rough edges and an imperfect cutting finish.
When working with raw chipboard, the cutting procedure is quite simple. When cutting chipboard with a veneer or melamine coating on one side, however, it’s advisable to cut the board with the coated side facing upwards, as the saw may leave a rough edge on the bottom side, which isn’t very appealing.
On a safety note: when cutting chipboard, always wear a dust mask over your mouth and nose to prevent breathing any fine particles or epoxy chemicals released by the board.
ALSO READ: MDF VS SOLID WOOD: WHAT ARE THE ADVANTAGES AND DISADVANTAGES?
HOW TO PAINT & SEAL CHIPBOARD
Chipboard is a flexible and cost-effective material, but it may be difficult to paint and treat if you aren’t familiar with the procedure. Here are the fundamental procedures for painting and sealing chipboard, which are great if you’re planning a DIY build project with it.
- Prepare the Chipboard.
Chipboard will not accept your paint application unless it is absolutely clean, free of greasy streaks and dust. Start by checking the surface of your chipboard with gloves on and wiping away any greasy markings using a cloth soaked in water and dishwashing liquid (wring it out so it’s only damp, not soaking your board). Cover your board loosely with protective covering to keep it free of dust and debris, and let it to dry completely for two days before moving on to the next phase.
- sand down the board
Sand down the whole board with a piece of medium-grit sandpaper (or an electric sander for big areas of wood) to eliminate any surface defects. Sanding to a smooth surface finish will also make it easier for your sealer and paint to adhere to the board. After sanding the entire board, wipe it down with a dry towel to remove any leftover board particles.
- Prime the chipboard.
Priming your chipboard provides a layer of protection against moisture and grime, as well as a better surface for your paint to adhere to. Place your board on a covered surface in a well-ventilated area and put on gloves before you begin, since you don’t want these compounds to come into contact with your flesh.
Apply your primer in a thin, uniform coat with a smooth paint roller and allow to dry entirely according to the instructions on your selected primer product. Repeat two or three times more to build up numerous layers of primer, since these layers will adhere to one another and produce a stronger, more protective barrier than one layer alone.
- Begin painting the chipboard.
Now it’s time to paint your chipboard. Acrylic paint, or any paint without a strong water or oil basis, is the ideal choice for chipboard. Even when primed, paints with too much water or oil risk soaking into the porous surface of the chipboard, resulting in an uneven finish. Apply your paint in even layers with a new paint roller, exactly as you did with your primer. Allow for complete drying before applying another coat; you may need three or four coats to reach the desired degree of coverage.
- Seal your chipboard
It’s time to seal your chipboard after the paint is dry. Sealing the board will keep your paint from harm and give it a nice, glossy surface, as well as providing an extra layer of moisture protection. Use a clean roller to apply a clear sealant solution appropriate for chipboard in an even layer. Allow the first application to dry completely before applying a second coat for good measure.